
You’ve had a great day exploring trails and cooking over a campfire. You’re ready to do it all again the next day, but first you need to get some shut-eye. The difference between waking up rested and energized or waking up tired and sluggish can sometimes depend on the sleeping bag.
If you crave the comforts of home inside your tent, stick to a rectangular-shaped sleeping bag. You’ll have lots of room to turn from side to side, curl up for a while, and let your feet move around without getting tangled up. If you’re taller than 5’11” or you just like extra space, look for a style made especially for big-and-tall campers, or even two that zip together. If you’re hiking in the backcountry, you may want to try a mummy-shaped sleeping bag that’s great as a backpacking sleeping bag because it packs up fairly compact.
Most Coleman® rectangular sleeping bags are designed to link two similar bags together into a double sleeping bag. Just remember, the more room you have inside the bag, the harder it is for your body to warm up. If you’re going to buy a bigger bag than you need, think about getting one designed for cooler temperatures.
Finding the right sleeping bag also depends on when you plan on going camping because most sleeping bags provide a temperature rating. But everybody is different, and you can’t always rely on the seasonal approach. If you’re the type of person who adds a quilt to the bed in the summer, you may want to choose a bag designed for warmer temperatures,or if you tend to get hot when you’re sleeping, you may want a bag rated for cooler temperatures.
If you plan to camp throughout the year, but don’t want to spend more money than you need to, think about buying for the warmest season and then adding our Stratus™ 50°F Fleece Sleeping Bag for the colder months. The lightweight insert costs less than a regular sleeping bag and is more compact. There’s also the Coleman® Adjustable Comfort Sleeping Bag. It’s rated for temperatures between 20°F and 70°F. When it’s hot, just use the lightweight sheet to cover you, and as the temperature drops, use it as a regular sleeping bag. When it gets really chilly, snuggle up with both.
Our zippers are part of a patented system that plows fabric away from the zipper every time to avoid snags. Fiberlock™ quilting keeps insulation from shifting, causing cold spots. And each of our sleeping bags comes with its own system to make packing it up a cinch: Roll Control™ folding loops and the patented Quick Cord™ fastening system.
Whether you plan to go car camping, backpacking, or just want to pitch a tent in your backyard, you’ll be able to find the right sleeping bag for you from our wide selection.
How to Wash a Sleeping Bag:
Your sleeping bag needs proper, regular cleaning to keep it adventure-ready for life on the trail and at the campsite. Should you machine wash it for convenience or hand wash for care? While commercial washing machines make cleaning easier, hand washing is ideal for delicate care. Follow our tips to keep your sleeping bag—whether a durable Coleman® or your own—in top condition.
Pro Tip: Remember, do NOT dry clean or use a top-loading washer and dryer at home.
What You’ll Need:
- Front-loading washing machine or large tub
- Down-specific detergent, mild soap, or detergent for synthetic fabrics
- Dryer with a low heat setting or drying rack
- Clean tennis balls or dryer balls
How to Wash a Down Sleeping Bag
Just like learning to pitch your camping tent, washing a down sleeping bag requires specific steps to remove dirt and grime and preserve its insulation and cozy loft:
Steps for Machine Washing:
- Inspect the Sleeping Bag: Close all zippers and fasteners, check for tears, and repair them before washing.
- Choose the Right Washer: Use a large-capacity front-loading washer to avoid damage.
- Add Detergent: Follow instructions for down-specific detergent.
- Select Cold Water: Wash with cold water to protect insulation and fabric.
- Use Gentle Cycle: Prevent wear by setting the washer to a gentle cycle.
- Run an Extra Rinse: Remove all detergent residue for optimal down performance.
- Dry Properly: Tumble dry on low heat with tennis balls to restore loft, pausing to fluff and check dryness.
- Ensure Complete Dryness: Verify the bag is fully dry before storing to avoid mold or mildew.
At Coleman, our PEAK1™ Mummy Down Sleeping Bags are perfect for cold-weather adventures. Its 650-fill RDS-Certified Duck Down offers warmth without bulk, while a water-repellent shell, thermolock draft tube, and neck baffle lock in heat. Eco-friendly materials like recycled nylon add sustainability. Lightweight and compressible, it’s ideal for backpacking or camping, with a five-year limited warranty ensuring long-term durability.
How to Wash a Synthetic Sleeping Bag
Roll out your synthetic sleeping bag and settle in—because although synthetic sleeping bags are durable and easier to clean than down bags they still require specific care:
Steps for Machine Washing:
- Prep the Bag: Close all zippers, Velcro, and snaps. Repair any tears to prevent further damage during washing.
- Choose a Front-Loading Washer: Avoid top-loading machines with agitators, which can damage synthetic insulation.
- Add Detergent: Use a synthetic-safe detergent—regular detergent may leave residue or harm the insulation.
- Set the Cycle: Use cold water and a gentle or delicate cycle. Avoid heat which can melt synthetic fibers.
- Extra Rinse: Run an additional rinse cycle to remove all soap.
- Dry the Bag: Add tennis balls to prevent clumping and restore loft before tumble drying on low heat. Periodically check for dryness and fluff by hand as needed.
How to Hand Wash Sleeping Bags:
Just as you would take the utmost care in mapping out your next backcountry hiking route, hand washing requires a bit of planning and attention to detail to keep your gear performing at its peak:
- Fill a Tub with Cold Water: Mix down- or synthetic-safe detergent into the tub water based on the amount recommended on the packaging.
- Soak the Sleeping Bag: Submerge the sleeping bag and gently clean its entirety in the tub.
- Rinse Thoroughly: Drain the tub leaving the bag inside of it and then refill the tub with clean water. Rinse the sleeping bag. Repeat this step until no suds remain.
- Press Out Excess Water: Press (don’t wring) the bag to remove water.
- Dry as Above: Use a low-heat dryer or air-dry flat in a shaded, well-ventilated area, fluffing occasionally.
How to Spot Clean Sleeping Bags: Spot Cleaning Tips
For minor stains or dirt, spot-cleaning is quick and effective:
- Use a soft sponge or toothbrush with a small amount of mild soap.
- Focus on high-contact areas like the hood, zipper, and foot box.
- Rinse with a damp cloth to remove soap and air dry the area before storing.
How to Dry Down & Synthetic Sleeping Bags
Proper drying is critical for maintaining the loft and insulation of a down sleeping bag. Follow these steps for the best results:
Steps for Drying a Sleeping Bag:
- Use a Commercial Dryer: Place the bag in a large dryer on the lowest heat setting.
- Add Dryer Balls: Toss in 2–3 clean tennis or dryer balls to restore loft and prevent clumping.
- Check Regularly: Pause every 15–20 minutes to fluff by hand and monitor heat.
- Dry Thoroughly: Allow several hours for drying to ensure all moisture is gone, preventing mold or odors. Synthetic bags dry faster than down but ensure all moisture is gone before storage to prevent mold or odors.
If you don’t have access to a dryer, lay the bag flat on a clean, dry surface in a warm, well-ventilated area, flipping it occasionally until completely dry. Then, when ready to use your bag, try out a camping cot for additional comfort.
How to Roll a Sleeping Bag
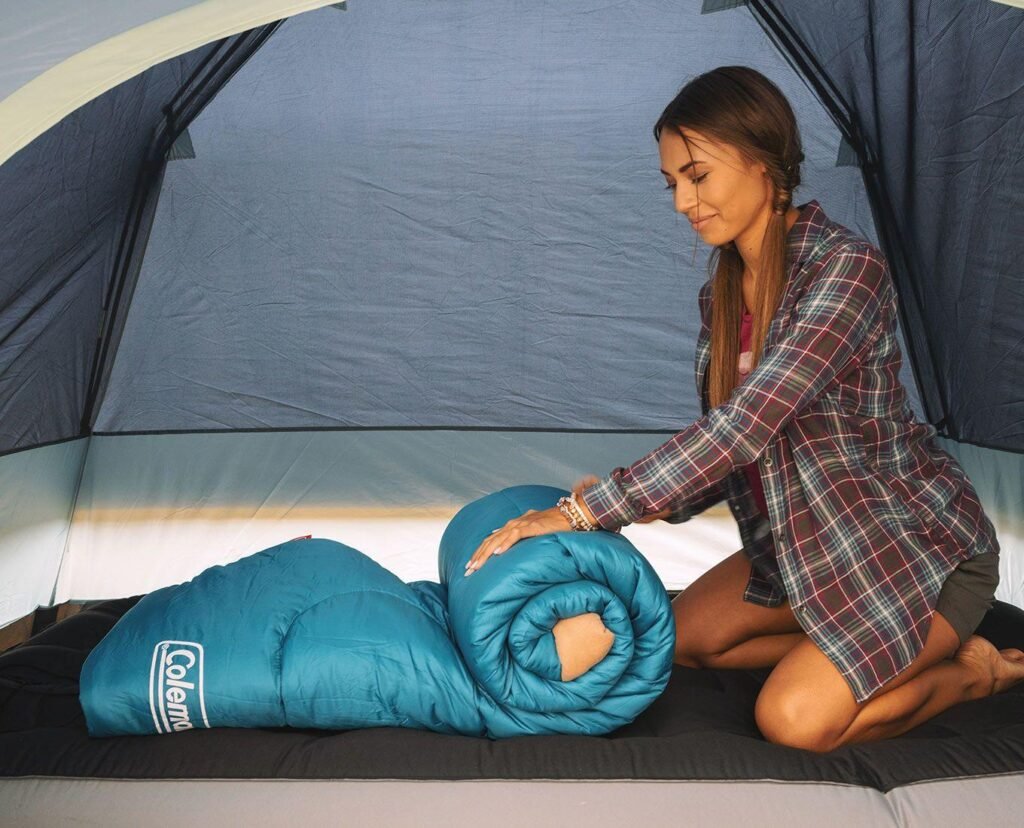
The rolling process is generally the same for most sleeping bags, though some have special features to help pack them up. For added simplicity, several Coleman® sleeping bags feature the Roll Control™ system—a toggle and loop system along the sides to keep the bag straight when rolling up. Regardless of your bag, follow these steps for proper rolling:
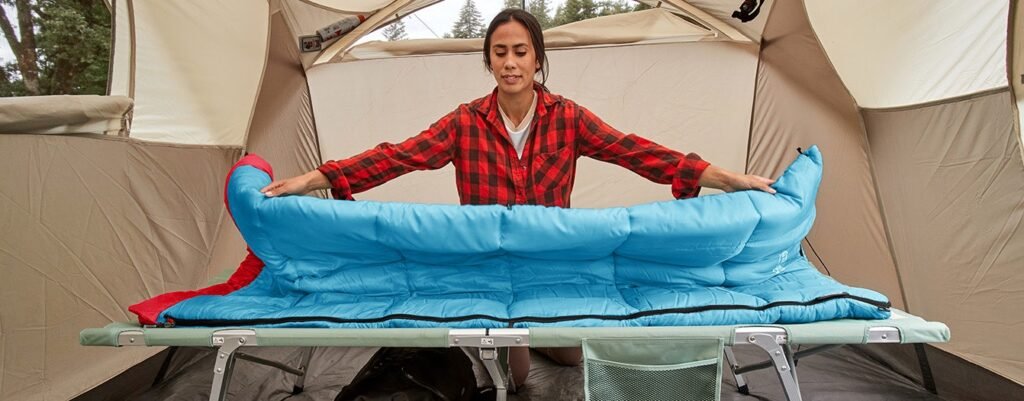
- Zip it up: Ensure the sleeping bag is completely zipped.
- Fold lengthwise: For how to fold a sleeping bag, lay it flat, smooth out wrinkles, and fold the bag in half like a hotdog bun.
- Use Coleman® Roll Control™ system: Align the toggles and loops on the sides to keep the bag straight while rolling.
- Roll tightly: Start from the foot end, rolling tightly as you go.
For mummy-style bags, skip the rolling and stuff the bag feet first into its compression sack. This method allows the air to escape from the head end while saving time.
Sleeping Bag Storage
Proper storage ensures your sleeping bag stays in top condition. For instance:
- For short-term storage, keep the sleeping bag in a compression sack while you’re camping.
- For long-term storage, store it in a large storage bag to maintain loft and lifespan when you’re back home.
Then, you’ll follow these steps to store your sleeping bag for both short and long-term storage:
- Prepare Your Compression Sack or Large Storage Bag and ensure the sack is appropriately sized for your sleeping bag.
- Stuff the Sleeping Bag instead of rolling the bag, push it into the compression sack or bag in small sections, using gentle, but firm pressure to pack the bag.
- Double-check the Compression for sharp folds or areas of excessive strain.
- Store it in a dry, climate-controlled area, keeping it away from direct sunlight.
- Air out and fluff your bag periodically during off-season when storing long-term.
Post-Cleaning Care Tips
To extend the life of your sleeping bag:
- Use a sleeping bag liner for easier cleaning.
Stay Adventure Ready with Coleman
With the right care and attention, your sleeping bag will continue to provide warmth and comfort for all your outdoor adventures. Whether you choose to machine wash, hand wash, or simply maintain it through regular rolling and storage, proper cleaning and care are essential for extending its lifespan.

